Zitadel — Setup
Step-by-step setup for a Zitadel instance, Stack Console Web/OIDC application, and CMP Social Login configuration.
Never publish or share a live Client Secret or PAT in tickets, screenshots, or documentation. Redact secrets in screenshots shared externally.
Part A — Create the Zitadel instance
Step 1 — Open Zitadel and sign in
Open the Zitadel website and sign in or sign up with the email that will own the instance.
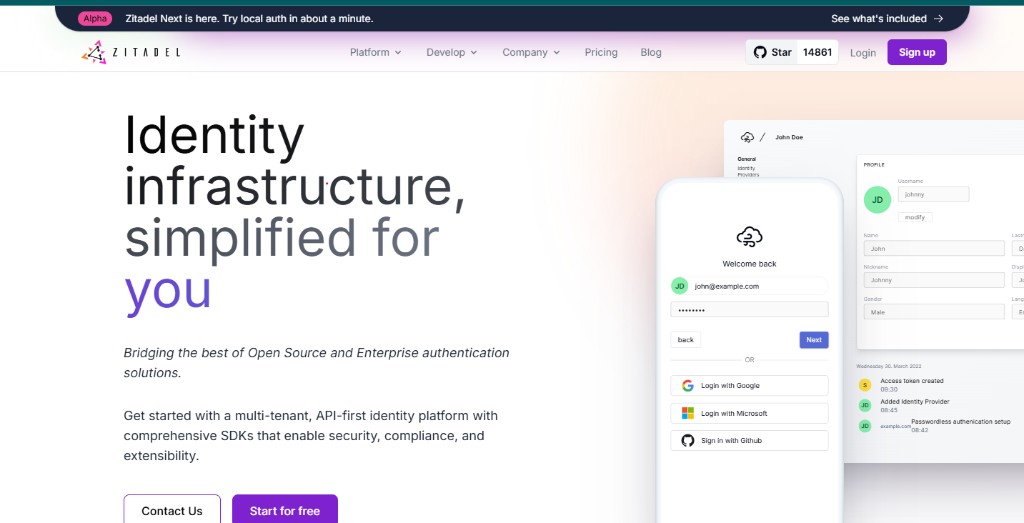
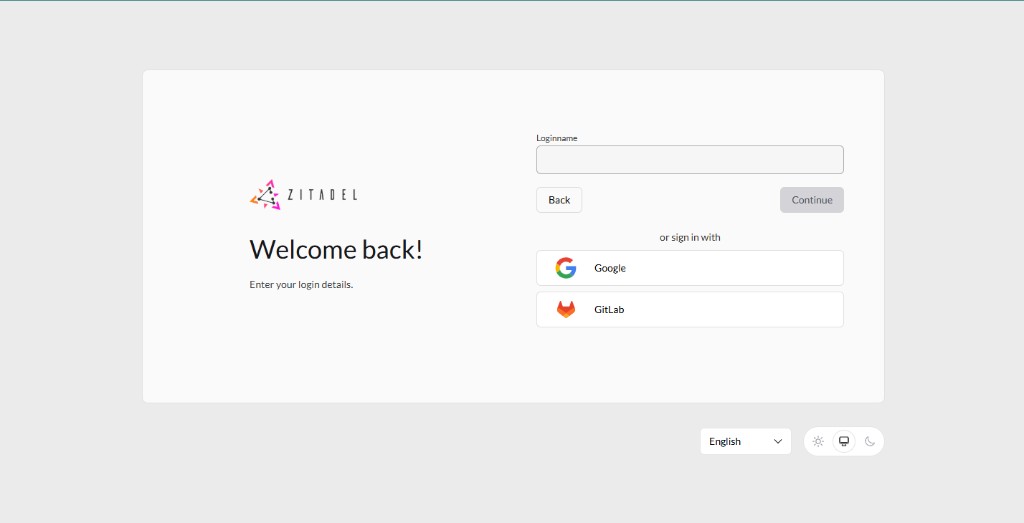
Enter your login name and click Continue.
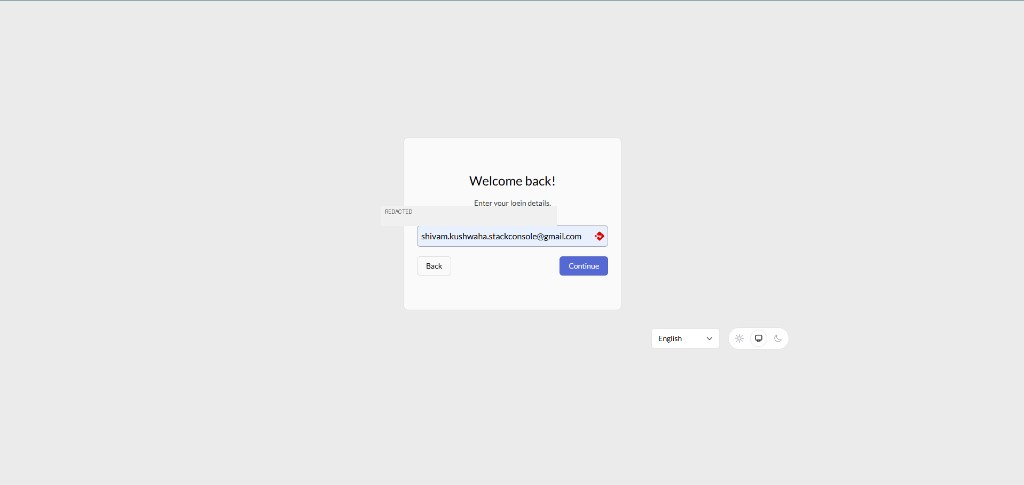
Enter your password and click Continue.
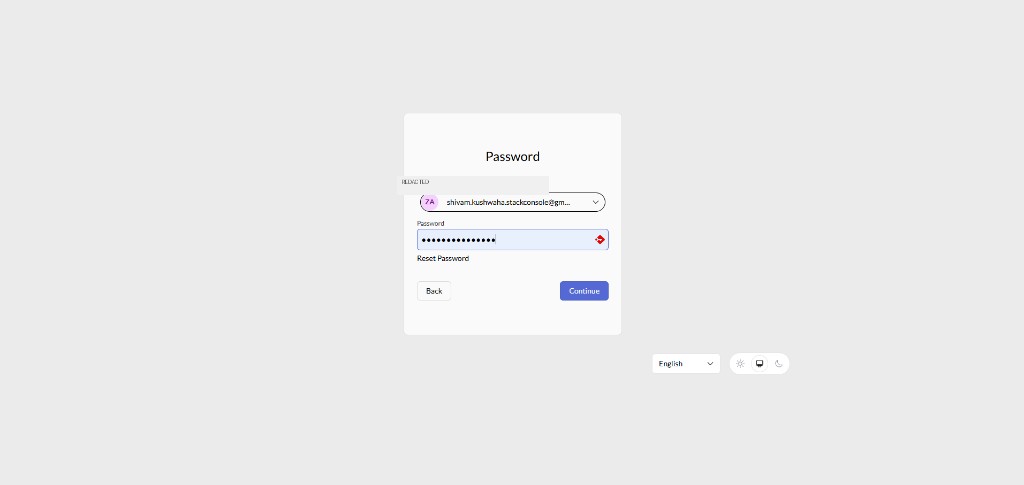
Step 2 — Create your first instance
From the Customer Portal dashboard, click Create Instance under Create your first instance.
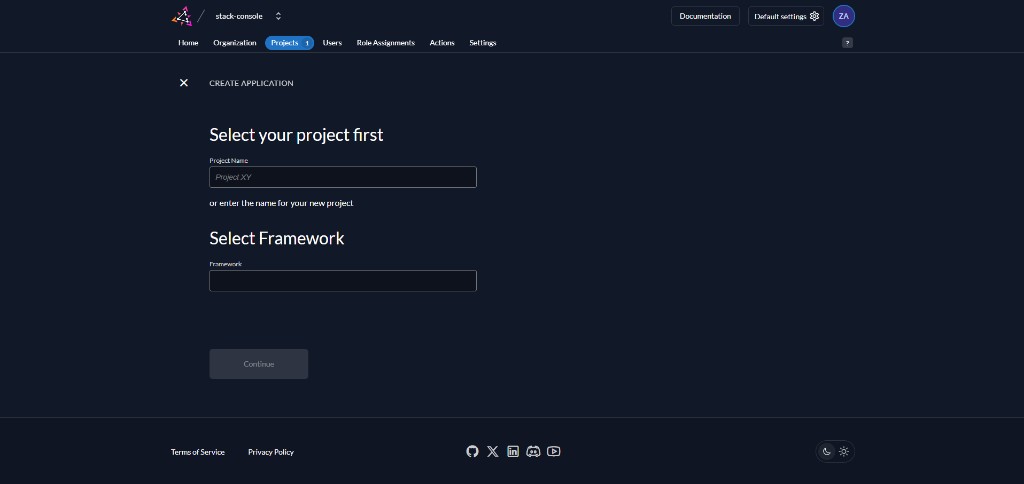
Enter an Instance name and confirm the Organization name, then click Next: Select your region.
Step 3 — Select your data region
Choose the region where instance data will be stored. This choice is permanent.
Step 4 — Create the first admin user
Enter the username/email and password for the first user in the new instance.
Step 5 — Confirm and create the instance
Review Instance name, Organization name, Selected data region, and Instance user, then click Create instance.
When creation completes, Create your first instance is marked complete and Create your first app becomes the next task.
Part B — Create the Web application
Create the Stack Console application in your own project (for example stack-console). Do not modify applications in the built-in ZITADEL project (Management-API, Admin-API, Console).
Step 6 — Sign in as instance admin
Sign in with the user created during instance setup.
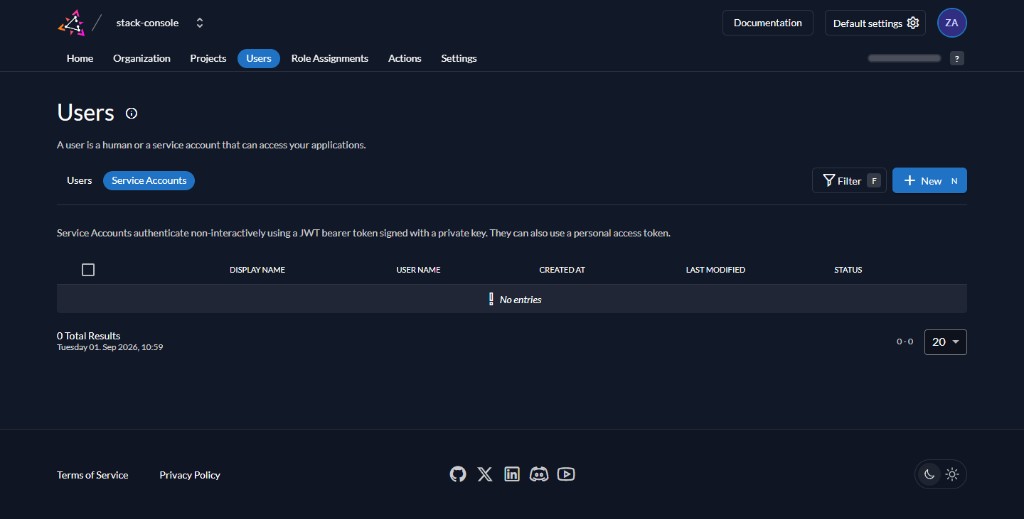
Step 7 — Create application
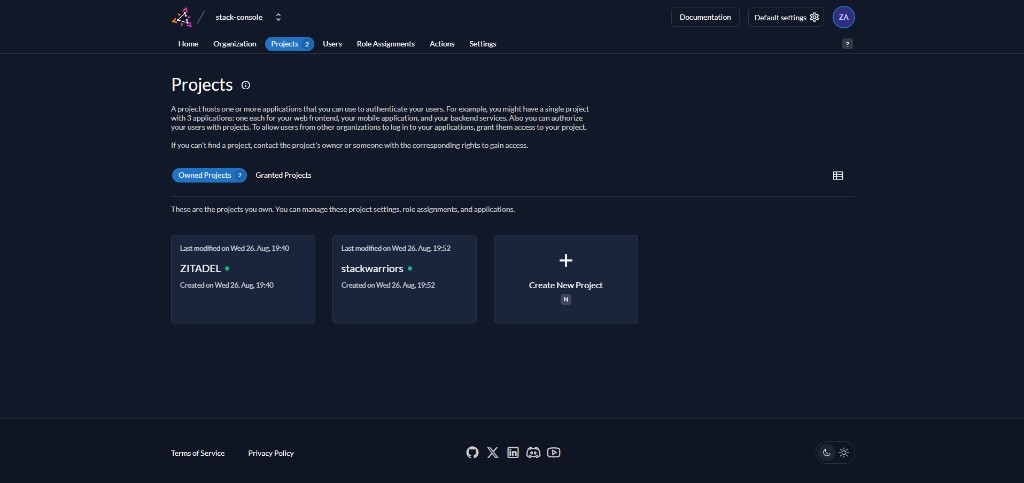
Open Projects → Create Application. Select an existing project or create a new one.
Use your own project — do not modify the built-in ZITADEL project.
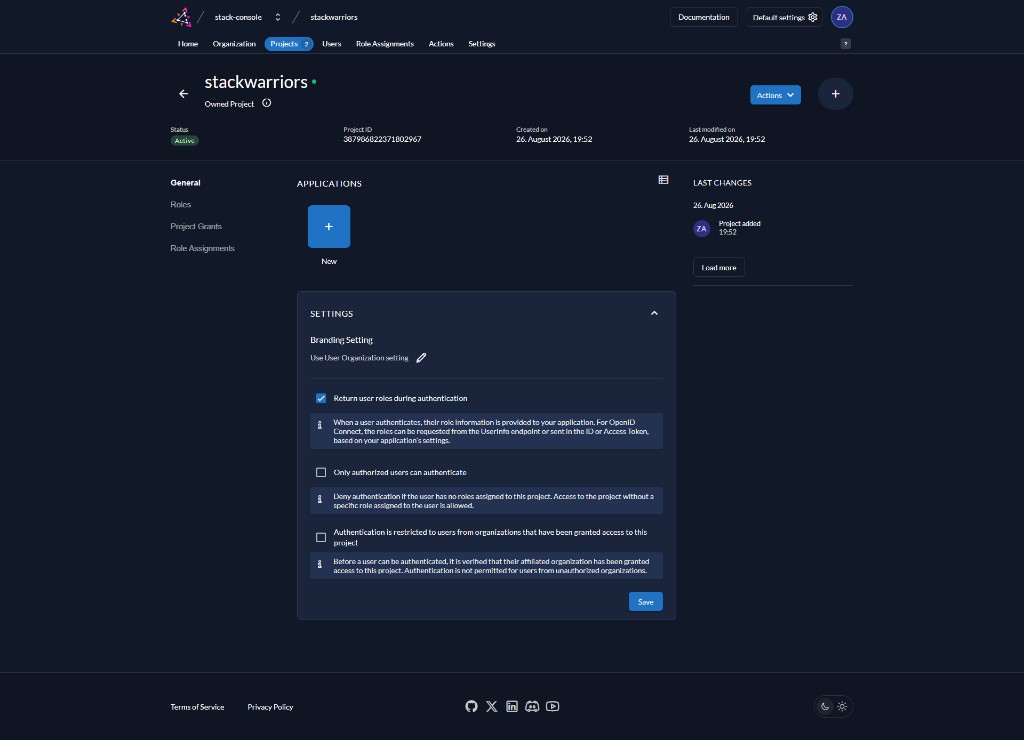
Open your project and click New (+) under Applications.
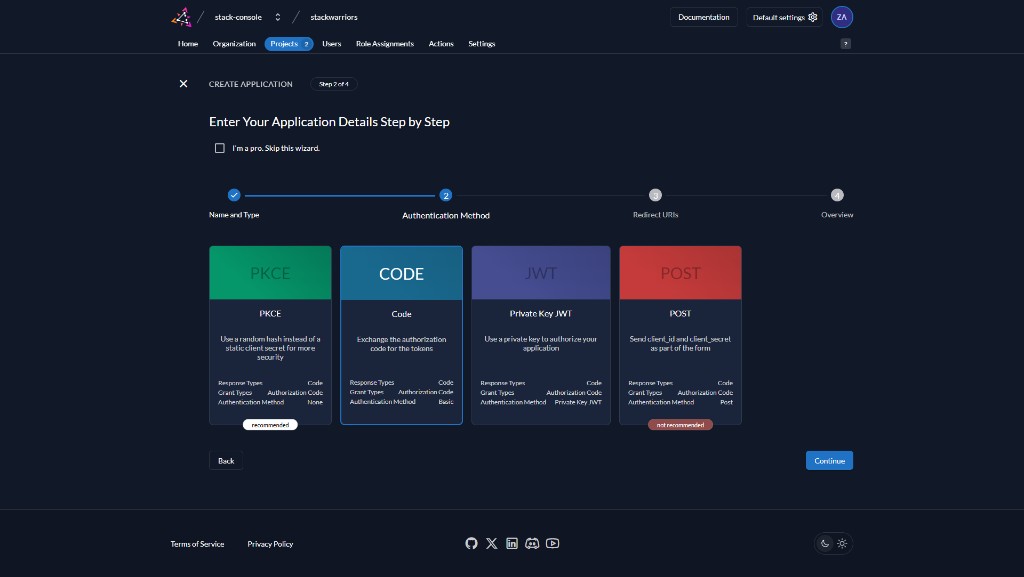
| Setting | Value |
|---|---|
| Application type | Web |
| Name | Descriptive name (e.g. stack-console-web) |
| Authentication method | Code (confidential authorization-code; not public PKCE-only) |
Step 8 — Configure redirect URIs
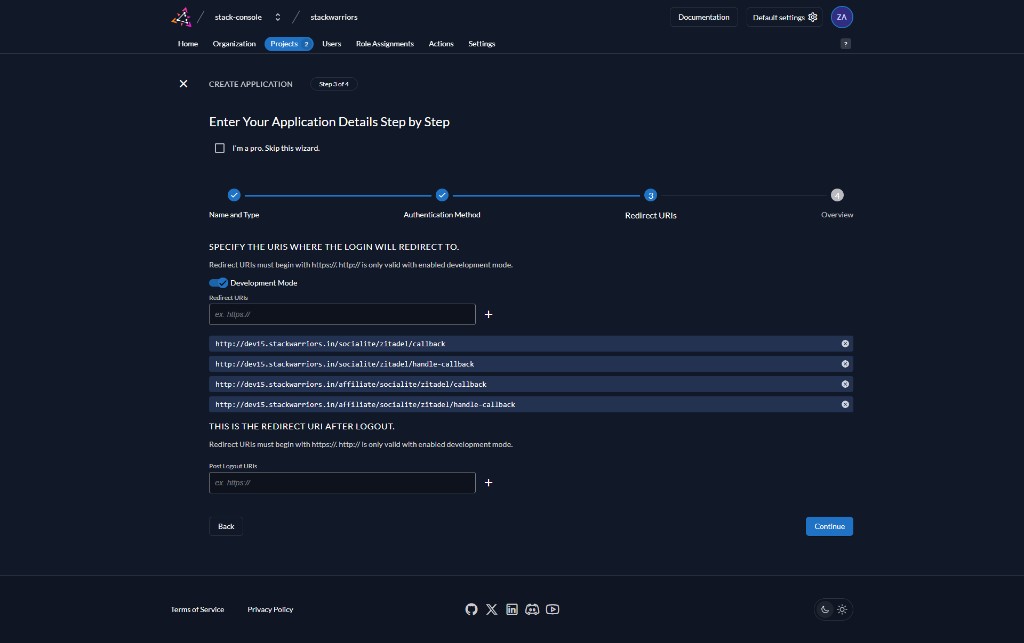
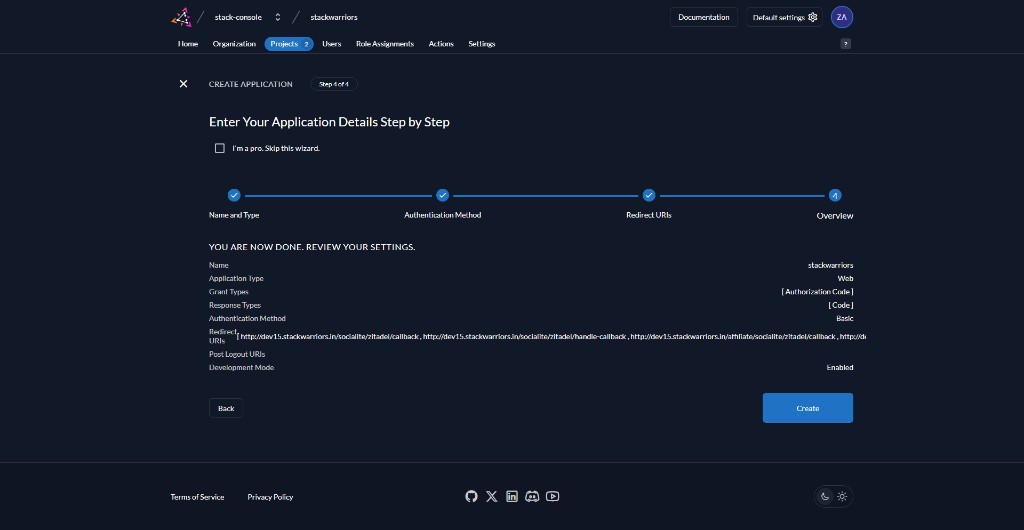
Add all four URIs exactly (replace {APP_URL} with your CMP frontend URL):
| # | Redirect URI |
|---|---|
| 1 | {APP_URL}/socialite/zitadel/callback |
| 2 | {APP_URL}/socialite/zitadel/handle-callback |
| 3 | {APP_URL}/affiliate/socialite/zitadel/callback |
| 4 | {APP_URL}/affiliate/socialite/zitadel/handle-callback |
| Setting | Value |
|---|---|
| Development Mode | Enable only when {APP_URL} uses http:// |
| Post Logout Redirect URIs | Leave empty for this Stack Console flow |
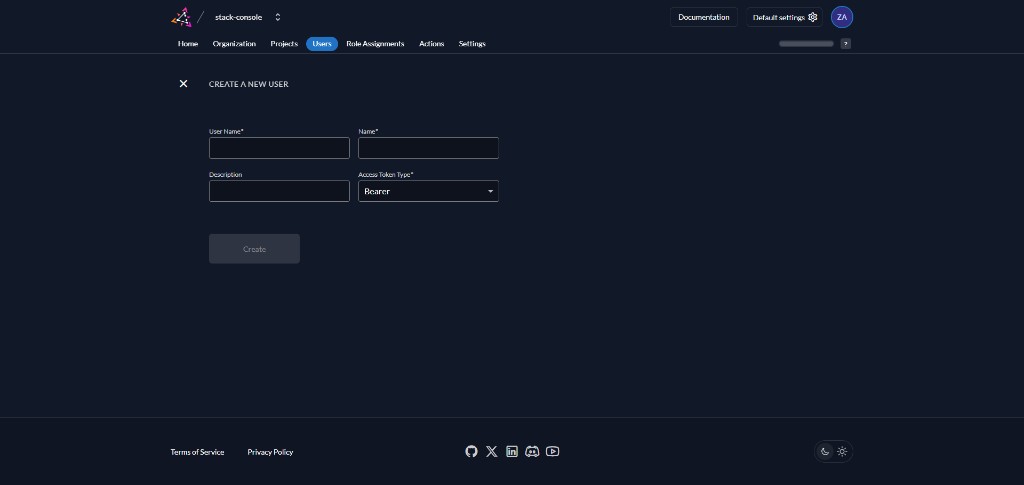
Step 9 — Create and copy credentials
Verify application name, type, grant type, authentication method, redirect URIs, and Development Mode, then click Create.
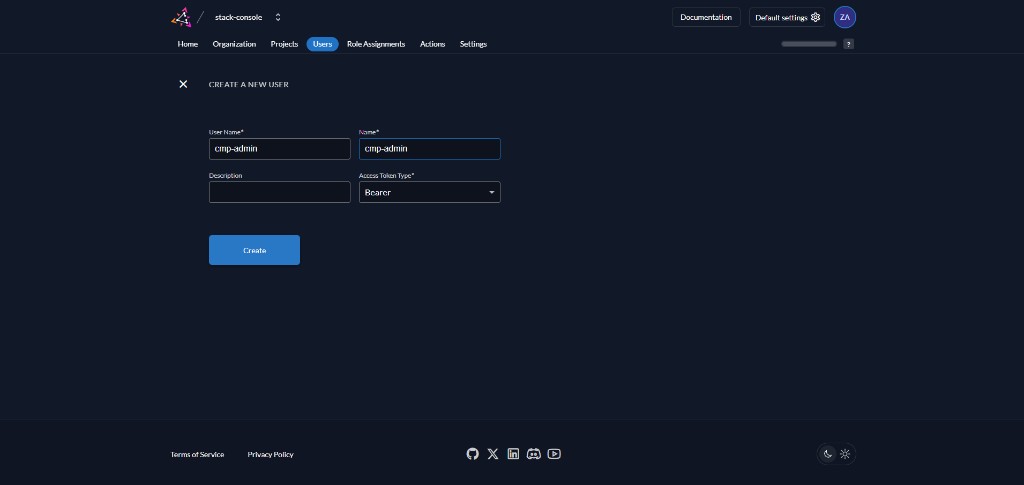
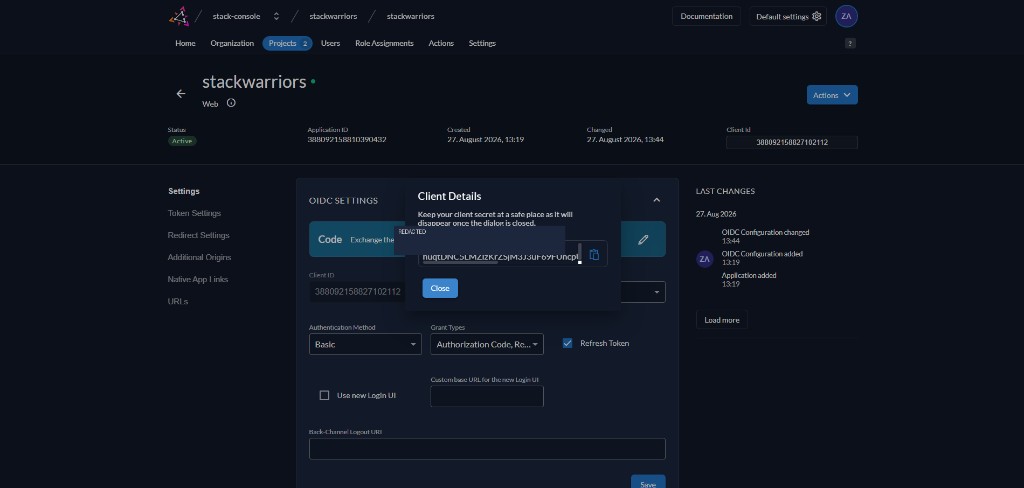
Copy immediately:
- Client ID — OIDC client identifier (not the Application UUID from the browser URL)
- Client Secret — Zitadel does not show the original secret again after the dialog closes
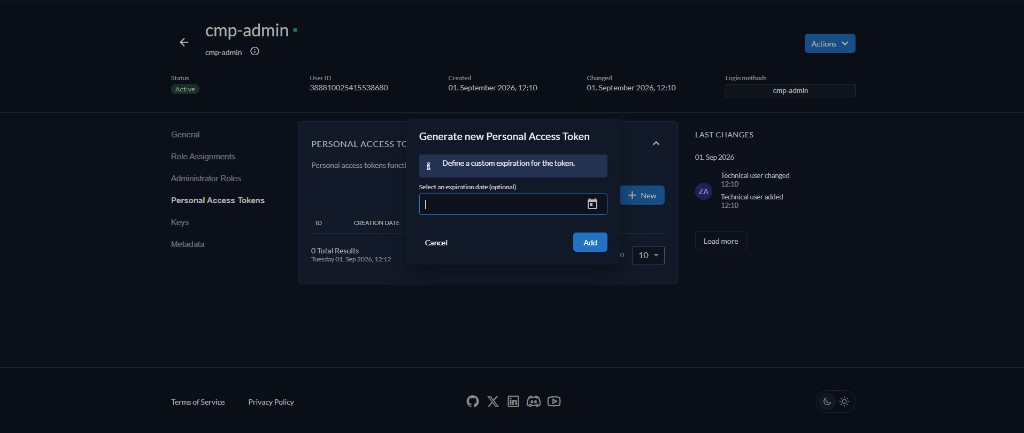
Regenerate Client Secret: Application → Actions → Regenerate Client Secret. Copy the new value immediately. Regeneration invalidates the old secret; Client ID stays the same.
When updating only the secret in CMP, paste the new secret, leave PAT blank to retain the stored PAT, and save.
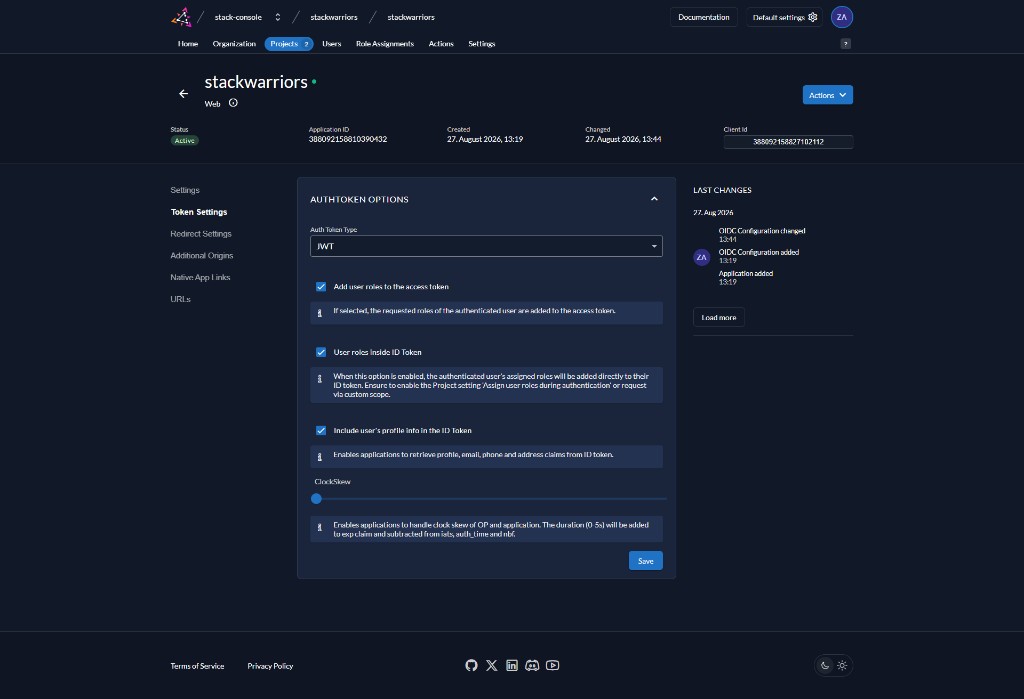
Step 10 — Token settings
| Setting | Required value |
|---|---|
| Auth token type | JWT |
| Refresh token | Enabled |
| User roles in access token | Enable if required by your Stack Console role flow |
| User roles inside ID token | Enable if required by your Stack Console role flow |
| User profile info in ID token | Recommended: Enabled |
| ZITADEL API audience | Enable if offered and self-service API access is required |
Save token settings. Minimum requirements: JWT auth tokens and Refresh token enabled.
Part C — Save credentials in CMP
Path: Admin → Settings → Social Login → Zitadel → Edit
Client ID
Required. Paste the Client ID from the Zitadel Web application.
Client Secret
Required. Paste the Client Secret from the Web application.
Base URL
Required. Zitadel issuer origin only — without /oauth or /ui (for example https://your-instance.zitadel.cloud).
Personal Access Token (PAT)
Optional at login-only setup. Required for user migration. Paste the machine-user PAT when configuring admin API access. On later edits, leave blank to keep the stored PAT.
Status
Required. Set to Active when ready. Set other SSO providers to Inactive if only one should be active.
Store all Zitadel credentials in CMP Social Login settings. Do not put ZITADEL_* values in .env.
Verification checklist
- Instance is created and accessible
- Own Stack Console project is used; built-in ZITADEL project was not modified
- Web application created with Code / confidential authentication
- All four redirect URIs configured exactly
- Development Mode enabled only for HTTP environments
- Post Logout Redirect URIs are empty
- Client ID and Client Secret saved in CMP Social Login
- Auth token type is JWT; refresh token is enabled
- Login with Zitadel succeeds after saving
Troubleshooting
| Symptom | Likely cause | Action |
|---|---|---|
Errors.App.NotFound | Wrong Client ID | Use the Web app Client ID, not Application UUID or a built-in ZITADEL project app |
| Auth fails after secret change | Secret from wrong app | Confirm secret belongs to the same Web application as the configured Client ID |
Next steps
- Machine user & PAT — required before migrating existing users
- User migration